Here's the recipe for you to try out once you acquire a SCOBY:
For a half gallon batch:
half gallon filtered or spring water
5 plain tea bags or 5 heaping teaspoons loose tea (black is best, but can use green or white in a pinch)
1 cup organic sugar
1/2 cup kombucha or 1/4 cup white vinegar
SCOBY
half gallon jar or 2 quart jars
cheesecloth or other 'breathable' cloth to cover jar
2 weeks later:
smaller bottles (swing-top is best if you want 'fizz') or jars
herbs or fruits for flavoring
Primary fermentation:
Wash your brew jars thoroughly.
Boil 3 cups of water and add 1 cup of sugar, stirring until sugar is dissolved.
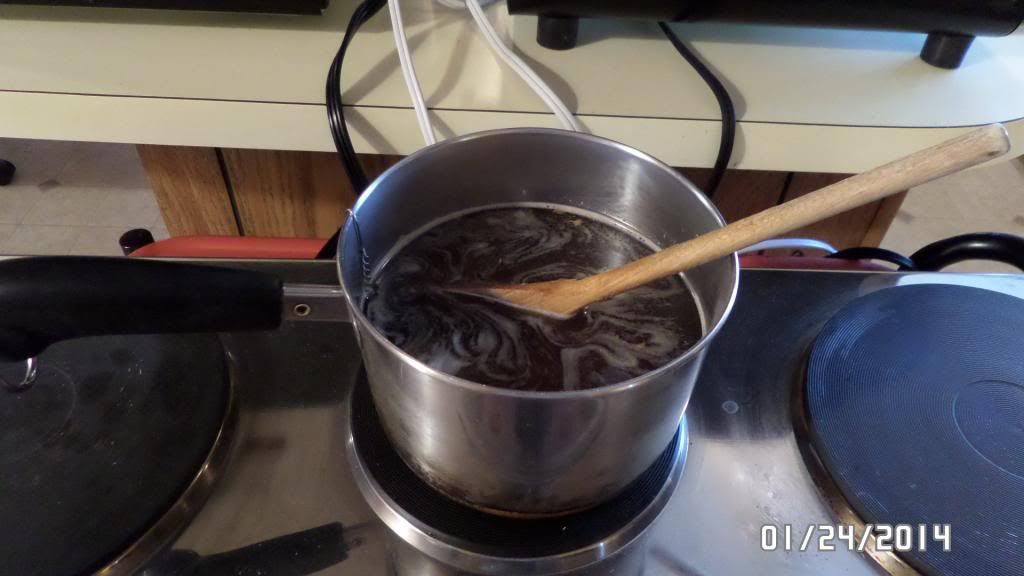
Pour the tea into the brew jar and top with water, leaving a couple of inches of space at the top. Add 1/2 cup plain kombucha (or 1/4 cup vinegar if you don't have any, yet.)
Add the SCOBY.
Cover jar with cheesecloth.
Place in a warm, dry place away from the sun for 10-14 days. Ideal temperature is 65-90 degrees as colder temps will take longer to ferment.
At about 10 days, taste it by dipping a straw or wooden spoon under the SCOBY. It should taste slightly sweet, yet a little tart and have a bit of a fizz. If it is too sweet, let it ferment a few more days.
Secondary ferment:
Wash bottles thoroughly.
Remove SCOBY. It will have another layer on top of it - the 'baby' (sometimes separate, sometimes directly attached to the 'mother' and you will have to peel them apart.) One you will use for the next brew, the other can be saved (in a SCOBY 'hotel' - see below) or given away.
Put the SCOBY mother and baby in a cup of the brew in a bowl and set aside.
Put fruit or herbs for flavoring in bottles. It takes very little. Two small berries or 1 teaspoon of herb is enough for each bottle.
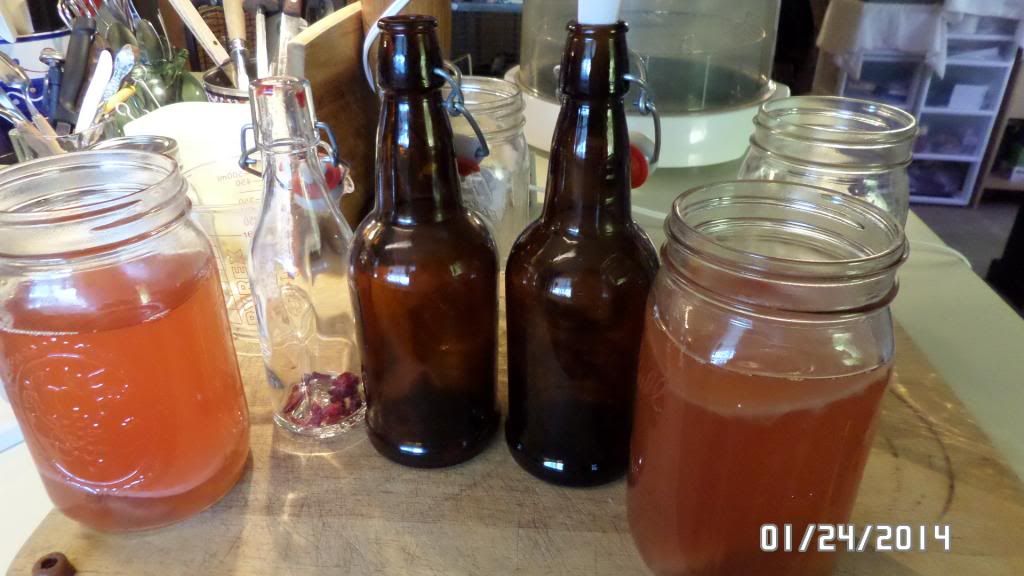 |
| Two small raspberries have been added to each swing-top bottle. You can see the SCOBY (the thin white organism at the bottom of the left jar and near the top of the right one) in the primary ferment jars before removal |
Use a funnel to pour the kombucha into each bottle.
Fill the bottles leaving about an inch space at the top. Close tightly.
Set in a warm place for 2-3 days, allowing the carbonation to build up. 'Burp' the bottles once a day to prevent possible explosions.
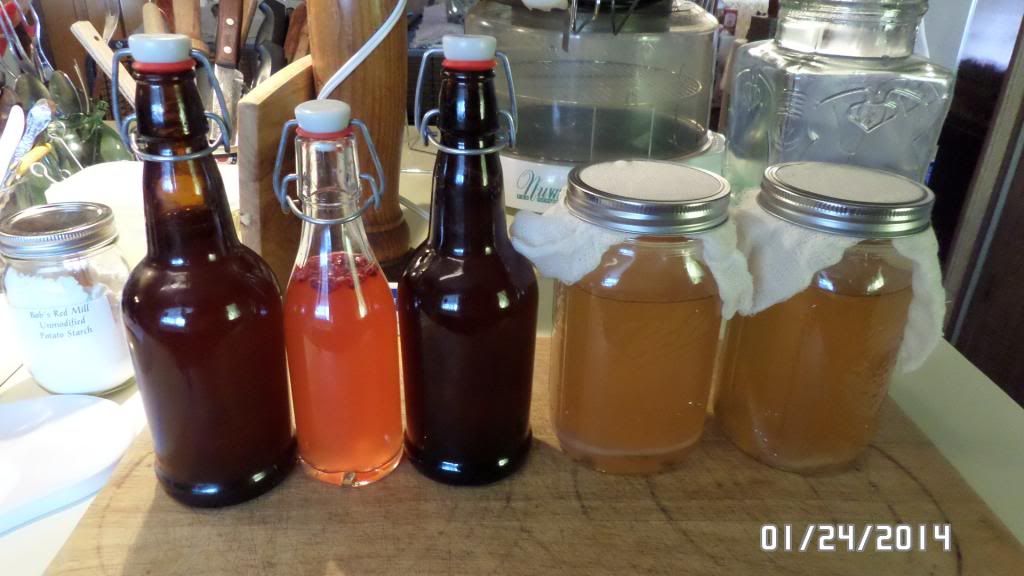 |
| Bottles ready for secondary ferment and a new batch started in the jars. |
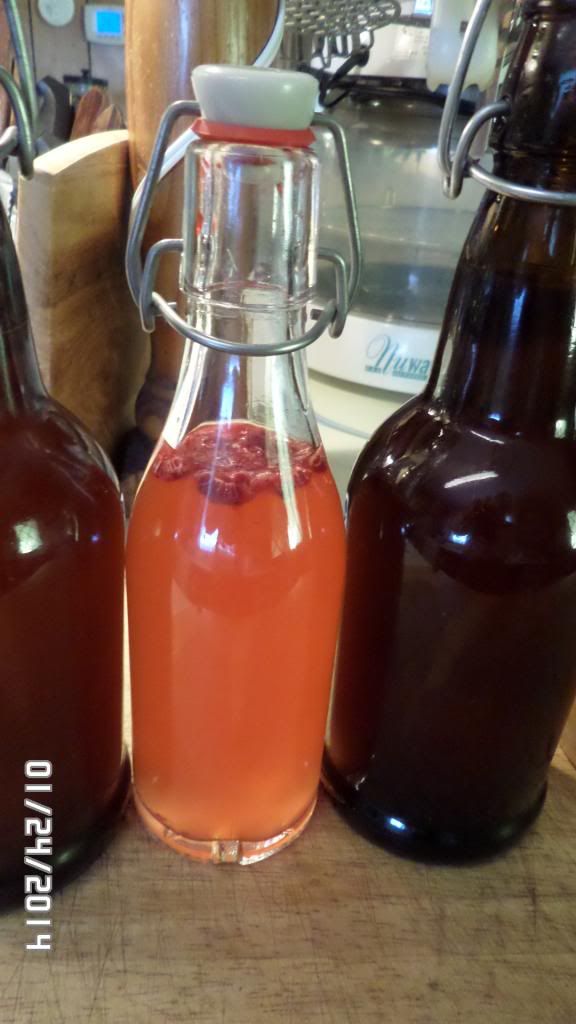 |
| Such a pretty color! |
SCOBY 'hotel':
Use a quart jar to house your extra SCOBYs. When you separate your 'mother' and 'baby' after each batch, add your extra to the hotel. Making sure to keep each addition covered with plain kombucha. Store in the back of a cupboard.
There are quite a few things you can do with your extra SCOBYs. Share with a friend; dehydrate and make dog treats; save as back-up if your main SCOBYs get contaminated; among other things.
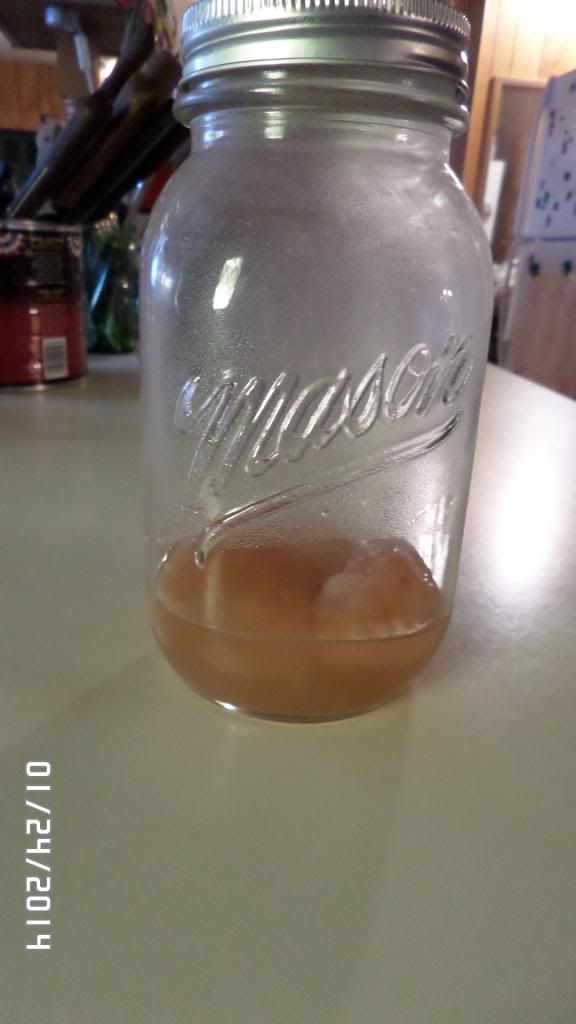 |
| Make sure not to leave the metal lid unprotected. Line with cheesecloth before storing to protect your SCOBY from the metal. |
Enjoy!


